
Who remembers the show, "Trading Spaces"? I am pretty sure this show was way before DVR's, so my family had many VHS tapes filled with Vern Yip. My family was obsessed, it was such a fun show to watch together! This brilliant show led to a nationwide take over of home improvement and DIY projects.

Ever since I was little, I have always been excited to have my very own house. Everyone loves a good makeover, some like to watch others do it while some like to partake in the fun. I am the latter. I love transforming furniture, and making it my own. Ryan and I got married young, so we were more than happy to accept the hand me downs that both our families gave to us. I confirmed right away if they were expensive family heirlooms or things that I could sand, paint and make over. Luckily I got the green light on most things, and I had such a good time transforming the pieces to match my style.


This is such a great dresser, given to us by friends of the family. It was also my first makeover!
I wanted to share with you one of my recent transformations. We were gifted this by friends who were moving, I immediately saw potential in this sweet little piece.
This is the piece of furniture before I did anything to it.

I have never used liquid deglosser. I have a LARGE piece of furniture that I am preparing myself to redo, and I do not want to sand the entire thing, so the kind people at Lowe's informed me that this is just as good as sanding. I was hesitant, but thought I would give it a trial run.

The instructions say to apply the deglosser, wait at least 30 minutes, but no more than 12 hours. This is more difficult than you think, with a toddler. I somehow McGyvered some time in the morning to start this project, so it would be ready to finish by nap time!
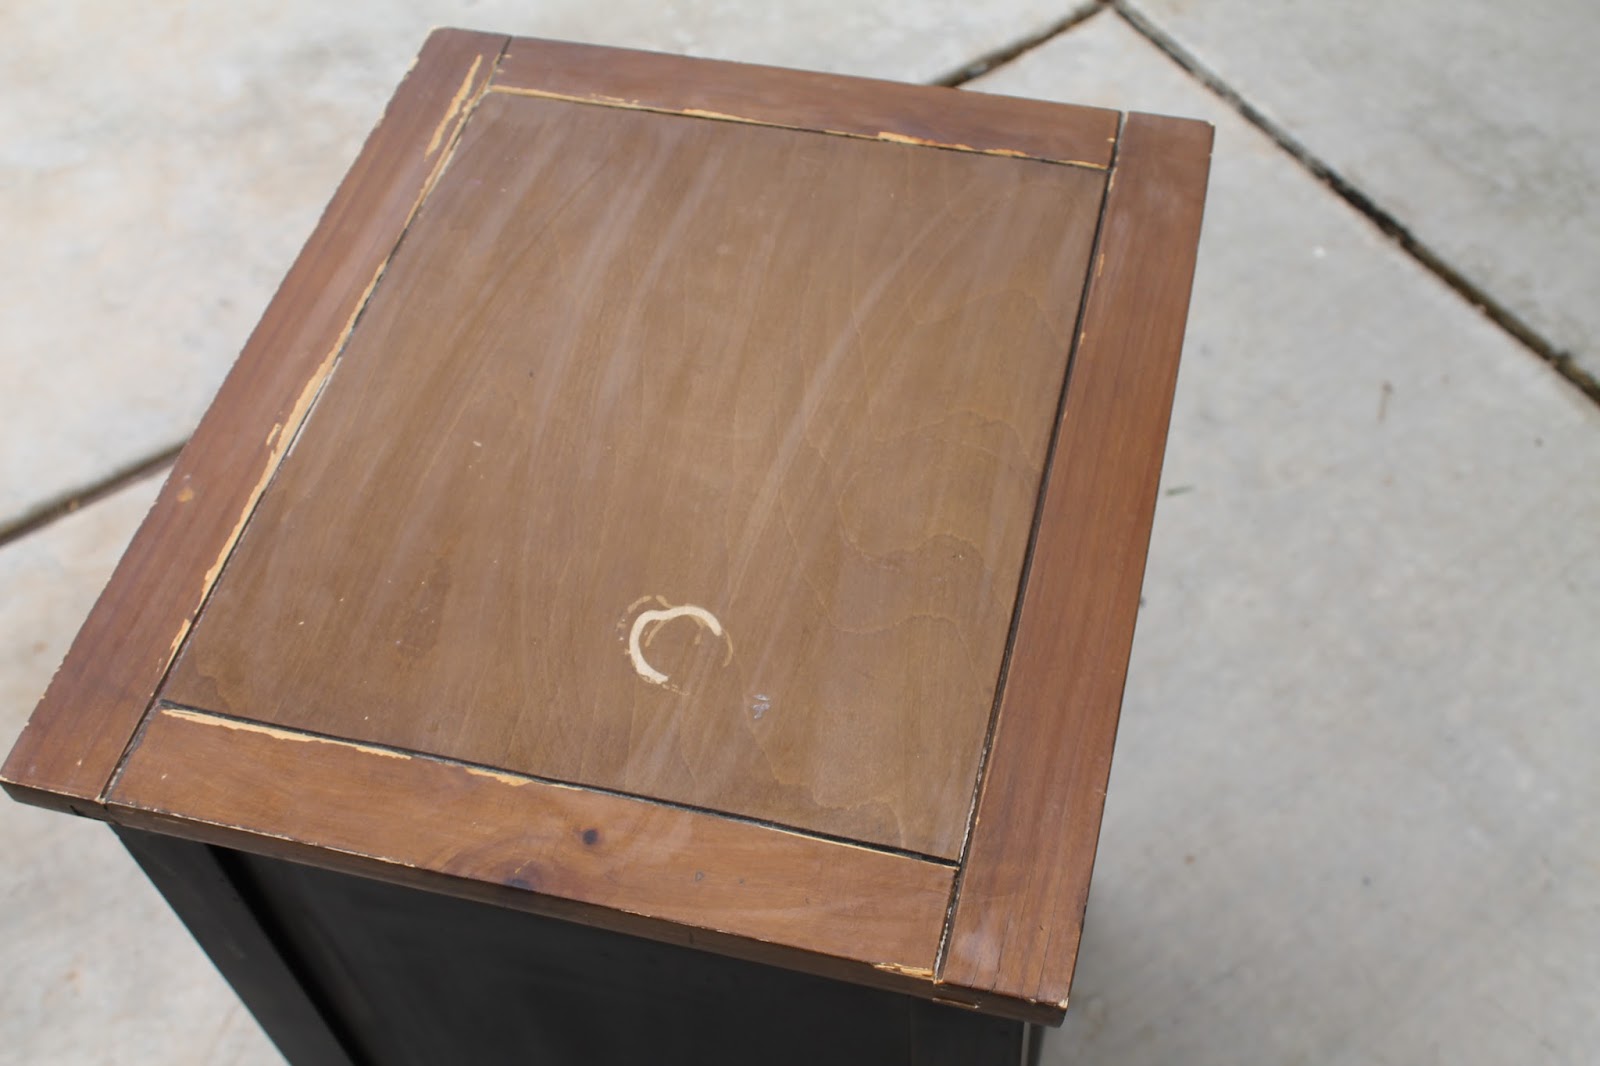
This is the top of the furniture with the deglosser applied.
I waited roughly 45 minutes to start applying the first coat of paint. I opted for a white tinted primer/sealer to use on this piece. This particular brand is Valspar, which can be found at Lowe's. It is one of my favorite paints and is also on the cheaper side, so can't complain there.

Here is what it looked like with one coat. I was getting a bit concerned that it would not cover well, but I told myself to stop being so impatient!

Here it is with two coats, dried. It looked great. There were some small areas that I decided to do three coats on, but for the most part two coats worked well!

That night I sent Ryan and Luke to Lowe's with specific instructions on which sealant to buy. To my surprise they came home with something completely different (not a surprise at all, it happens ALL the time)! It is also Valspar brand, an easy spray on semi gloss premium finish. My only advice for this step is to do it OUTSIDE, this stuff smells. I did it in the garage, with the door open and my house still stunk! I ended up really liking this product and plan on using it on my future furniture projects, in the end Ryan made a great choice!!

I was really pleased with how this turned out! I love the color and I love how easy it was to make this over. I think it completely changes the style!
I have a few more practice pieces to complete, before I tackle my biggest piece yet, Luke's new toddler bed and dresser. It was a great find, but definitely needs to some TLC before we make the transition.
Stay tuned!
Happy Diy'ing,
Meredith


No comments